
Recover to 3 HP, remove all states, gain 2 SK.
Whenever Goku wins a Clash: +1 SK, +1 BK for team. Discard at end of round.
Auto-Deflects — no roll. Redirect up to 45°.
+2 DMG and opponent gains Staggered (+ Mastery Draw).
Next attack vs. target within 3" of Krillin treats RFX as 4 lower.

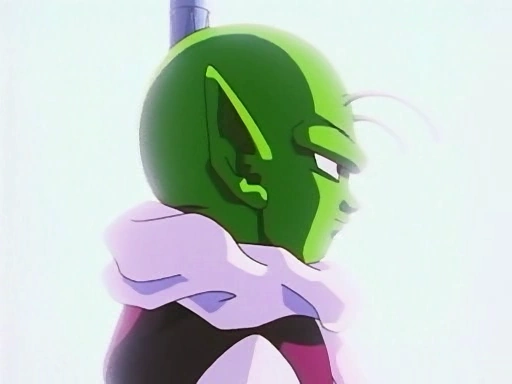
Transfer activation to any friendly. Piccolo may use Z-Reactions regardless of Staggered. Does not count for Order Pool.
Piccolo Intercepts. [Free] 2 DMG to attacker after resolving.
One friendly Gohan: +2 FOC, +1 SK. If Piccolo is Dazed: +3 FOC, +2 SK. Discard at end of round.
Free Ascend one Tier. At max Tier: 2 SK + 1 BK instead.
[Free] Gohan counter-attacks. On hit: cancel original attack.
All attacks: +1 DMG and Impactful. Discard at end of round.
Gohan Repositions up to 1st Move value at start of activation. All enemies' RFX treated as 1 lower this round.
Gohan may Intercept. [Free] Basic Strike against attacker. Once per round.

Four Witches strikes as four separate attacks against up to four targets.
Attacks ignore Staggered penalties. Dodon Ray Z-Reaction usable a second time at 1 BK.

[Free] Telekinesis twice — move two enemies within 6" up to 2" each.
Tien gains +2 FOC and +1 to all attack rolls this round.
Redirect up to 90 degrees. Suppress 3" until Spirit Ball resolves.
Crowd Pleaser: opponent's next activation costs +1 BK. Yamcha gains 1 SK.

Choose objective within 8" — look privately. If revealed: +2 FOC, +1 IMP until end of round.
Negate the Intercept. Videl gains +3 RFX. On successful defense: both gain 1 SK.
.png/revision/latest?cb=20101215140754)
Target gains Exhausted after damage resolves.
[Free] Yajirobe moves up to full MOV before that movement completes.

Piccolo removes all states, gains 2 SK. Gain 2 BK. First attack +2 DMG.
Absorb 2. Nail gains Staggered after attack resolves.
Healing Wind restores 3 HP and removes one negative state.
Attacker's roll −3. On miss: gain 2 BK.

Gain 3 BK in addition to Lucky Break's effect.
That model gains +2 to all attack rolls and +1 SK this activation.

All friendly models treat RFX as 1 higher until end of round.
One friendly within 8" moves toward Bulma. If within 2": Bulma gains Absorb 2.

Remove Dazed — survives at 1 HP. Resistance still fires. Cannot Ascend until end of round.
Blade Slash +1 DMG. If hit by Beam: free Blade Slash against attacker at −2.
That model survives at 1 HP. Future Trunks gains 1 SK.

Target gains Staggered. If Goku non-Dazed: Goten also gains 1 SK.
Goten may use one of his own Signature techniques as a free reaction (0 BK). Once per round.

+1 DMG to each hit. Target gains Staggered. If at T1: third Strike at −2.
Survive at 1 HP. Future Blood active (+1 to all attack rolls) for rest of round.

Auto-pass. No Power Down, no Core Burn. Gain 2 SK.
May not Ascend this round. Attacks deal +1 DMG and RFX +2. Discard at end of round.

Reveal all face-down objectives. Know one enemy's HP, SK, and BK.
Gain 2 BK. Vegeta gains 1 SK.
Mark one enemy: +2 FOC, +1 IMP. On that attack: bonuses apply, then discard.

All attacks this activation gain Impactful. Terrain degrades on Thrown collision.
Saibamen move +2" during Pursuit; trigger range 8"→10".

Losing model gains Staggered. [Free] Raditz repositions up to 3".
All friendly Saiyan attacks against chosen enemy treat RFX as 1 lower.
Broly immediately gains 1 Rage token.
Negate it. Discard after use.
All enemies within 4" take 2 DMG. Undeniable — cannot be negated.
The absorbed model's player discards one card from hand.
All Ginyu Force treat RFX as 1 higher this round.
Body Change range: 12". Target cannot Z-React before swap resolves.

Throw distance: 12". Collision checks every 4" — up to three checks.
Absorb 2. Gain 1 BK.
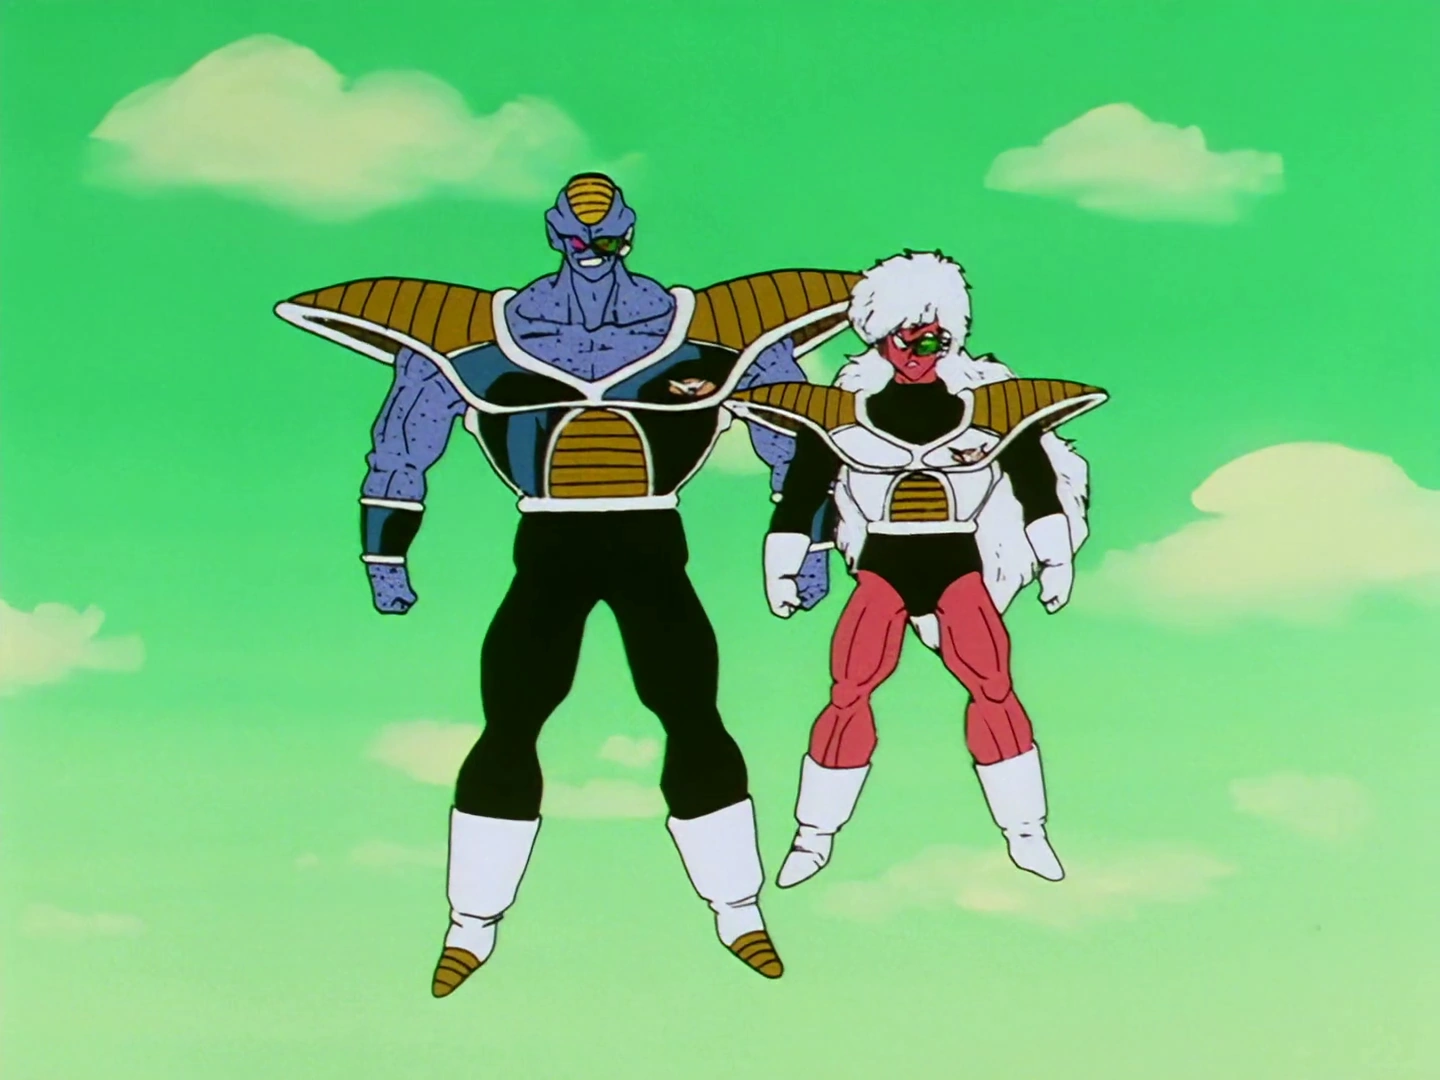
Burter activates before any other model. Does not consume Order Pool slot.
[Free] Reposition up to full MOV.
Target is Suppress 2" this round.
Use Red Magma twice without spending a second action.

Break-free difficulty: 14→18. Gain 1 BK.
That action is cancelled entirely. Cannot be played if Guldo has taken damage this round.

Tag one enemy. Each activation that is not theirs deals escalating damage: 1, 2, 3… Discard when they activate.
Cancel attack — no roll, no damage. Attacker gains Staggered.
Choose one enemy-controlled objective: not scored this Cleanup. Not in final round.
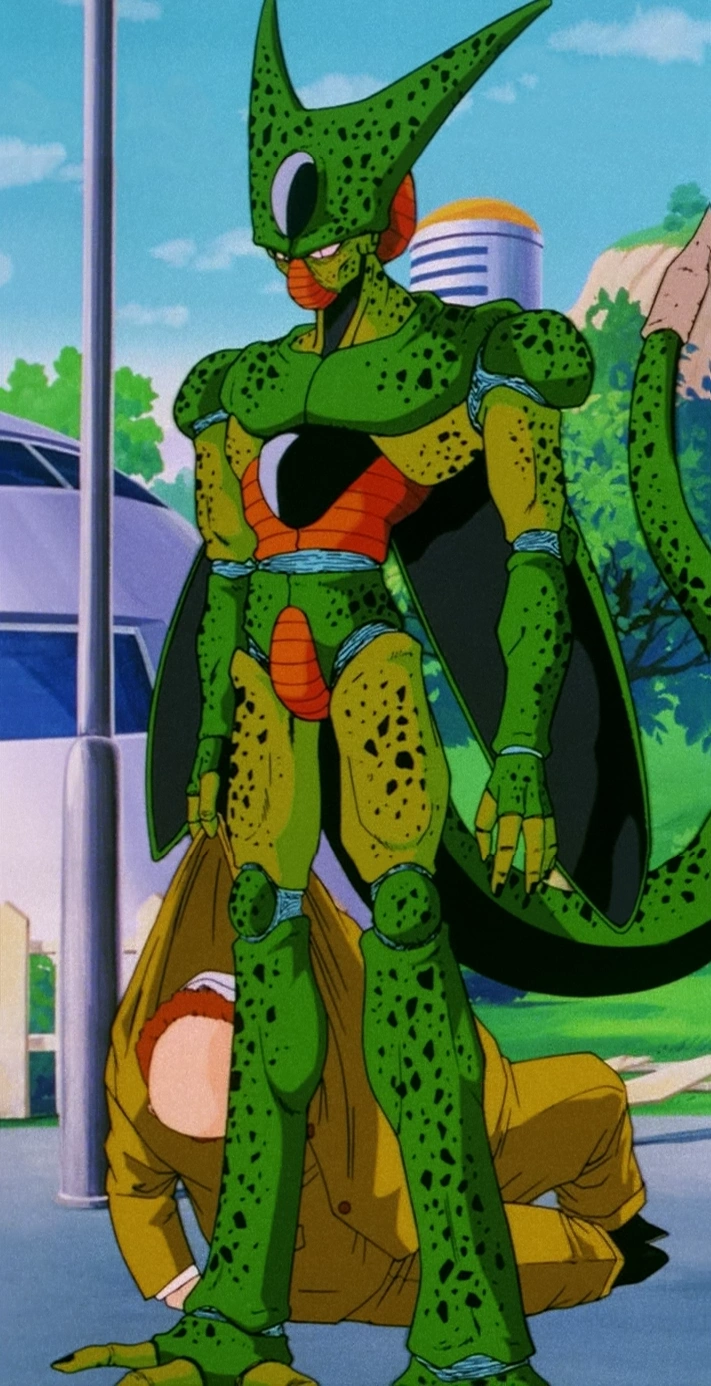
Threshold Regeneration triggers regardless. Barrier Skin: Absorb 2.
Absorption costs no action. Cell gains 1 SK.
Chosen enemy spends +1 BK per action this round. If Cell removed: all models take 2 DMG.
Negate that card effect.
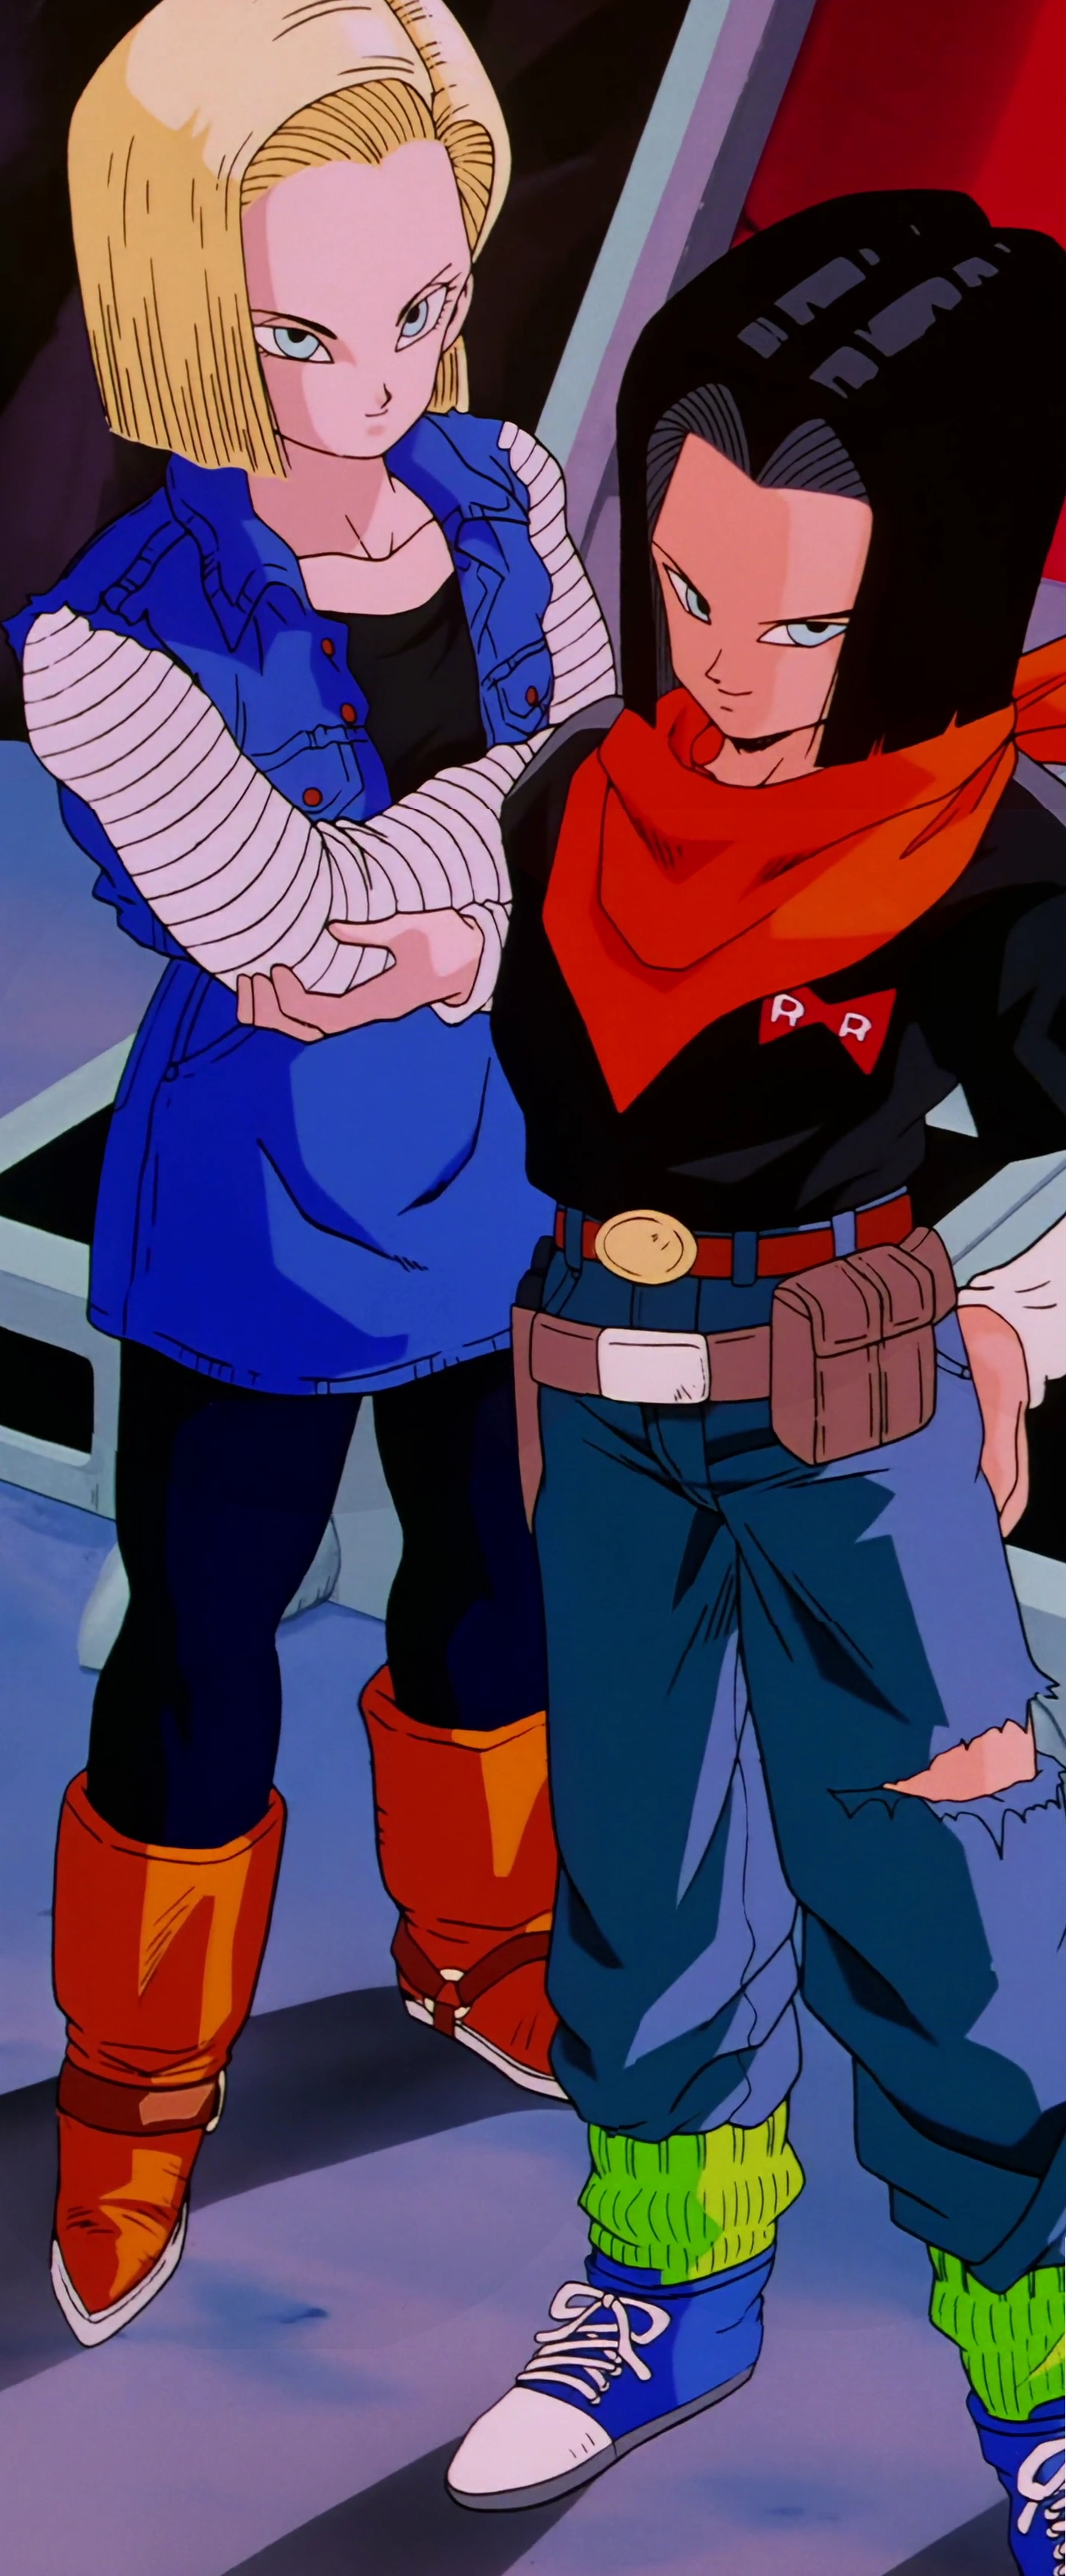
Either Android may use their Z-Reaction on behalf of their partner.
Attack ignores cover. Cannot be Z-Evaded — only Braced or Clashed.
Chain damage: 2 DMG (not 1). Each chained model gains Staggered.
One Last Word's bonus doubles — +6 SK and +2 IMP. Cannot be cancelled.
First enemy that spends BK to attack A16 loses 1 BK after the attack resolves.
A19 drain doubles — target loses 4 BK. Dr. Gero restores 1 HP.
One friendly Android: RFX +2 until end of round.
If not yet Charged: become Charged immediately. If already Charged: +1 BK to team.
Make one Energy Absorption attempt at 0 BK cost before their move resolves.
Buu returns at start of current player's next activation. If both passed: Round 2 start.
FOC check difficulty: 16→20. On failure: [Free] Buu eats the chocolate immediately.
Buu ignores Order Pool sequence. Counter-Current cannot respond. Discard at end of round.
.png/revision/latest?cb=20120202033954)
Corrupted model loses 3 SK.
That model gains Staggered. [Free] Babidi moves up to 3".
Attacks ignore Staggered penalties and +2 DMG. Ruling Terror range: 8".
Break-free: 13→17. Petrified target DMG +2 instead of +1.
Your team gains 2 BK. If Babidi non-Dazed: gains 1 SK.

Absorb 3. If Daze prevented: Spopovich gains Staggered instead.
[Free] Babidi gains 1 SK. Babidi may attempt Corrupt on the Grabbed target at 0 BK.
+1 IMP and +1 RFX. If Ki Devour triggered 2+ times this round: +2/+2 instead.
Enemies within 4" must spend +1 BK on first named ranged technique.

Babidi gains 2 SK immediately. Team gains 1 additional BK.
Attacker must re-target another visible enemy within range if available.
Team gains +1 BK. Enemies treat RFX as 1 lower for Pui Pui's attacks.
Pui Pui repositions up to 4". Attacker must re-roll targeting.
This activation: Charge + Signature Technique in any order. First attack: +2 DMG.
Target gains Exhausted. If already Exhausted: gains Staggered instead.
Launch one additional Ghost targeting any enemy. That Ghost ignores Z-Reactions.
Gotenks gains 1 additional action this activation (4 total).
Counter Spirit fires: 3 DMG. Attacker gains Staggered.
If at Base: Ascend to T1 (free), gain 1 SK. If at T1: +2 FOC and +2 IMP.
Perfect Fusion (1 SK). Attack deals +2 DMG. Gogeta may move up to 2".
Free Meteor Combination against the attacker before their attack resolves.
No cards match your search.